Painting Miniatures Quickly: How to Get from Box to Board ASAP
Imagine this: You've just received a new set of miniatures, eager to dive into your latest tabletop campaign. But there's a catch - they're all unpainted. The initial excitement fades as you think about the hours needed to bring them to life. Don't worry! With some efficient techniques and strategic planning, you can have those minis looking fantastic quickly. Here's how to go from unboxing to playing in no time.
1. Immersion Matters: Unpainted Minis and the Game Experience:
One of the joys of tabletop gaming is the immersive experience it offers, but unpainted miniatures can break this immersion and pull players out of the game world. Even a quickly painted miniature enhances the visual appeal and narrative of your game, making the experience more engaging and enjoyable for everyone involved. This immersion is even more crucial when playing in public settings. Unpainted minis can feel unfinished and detract from the overall experience.
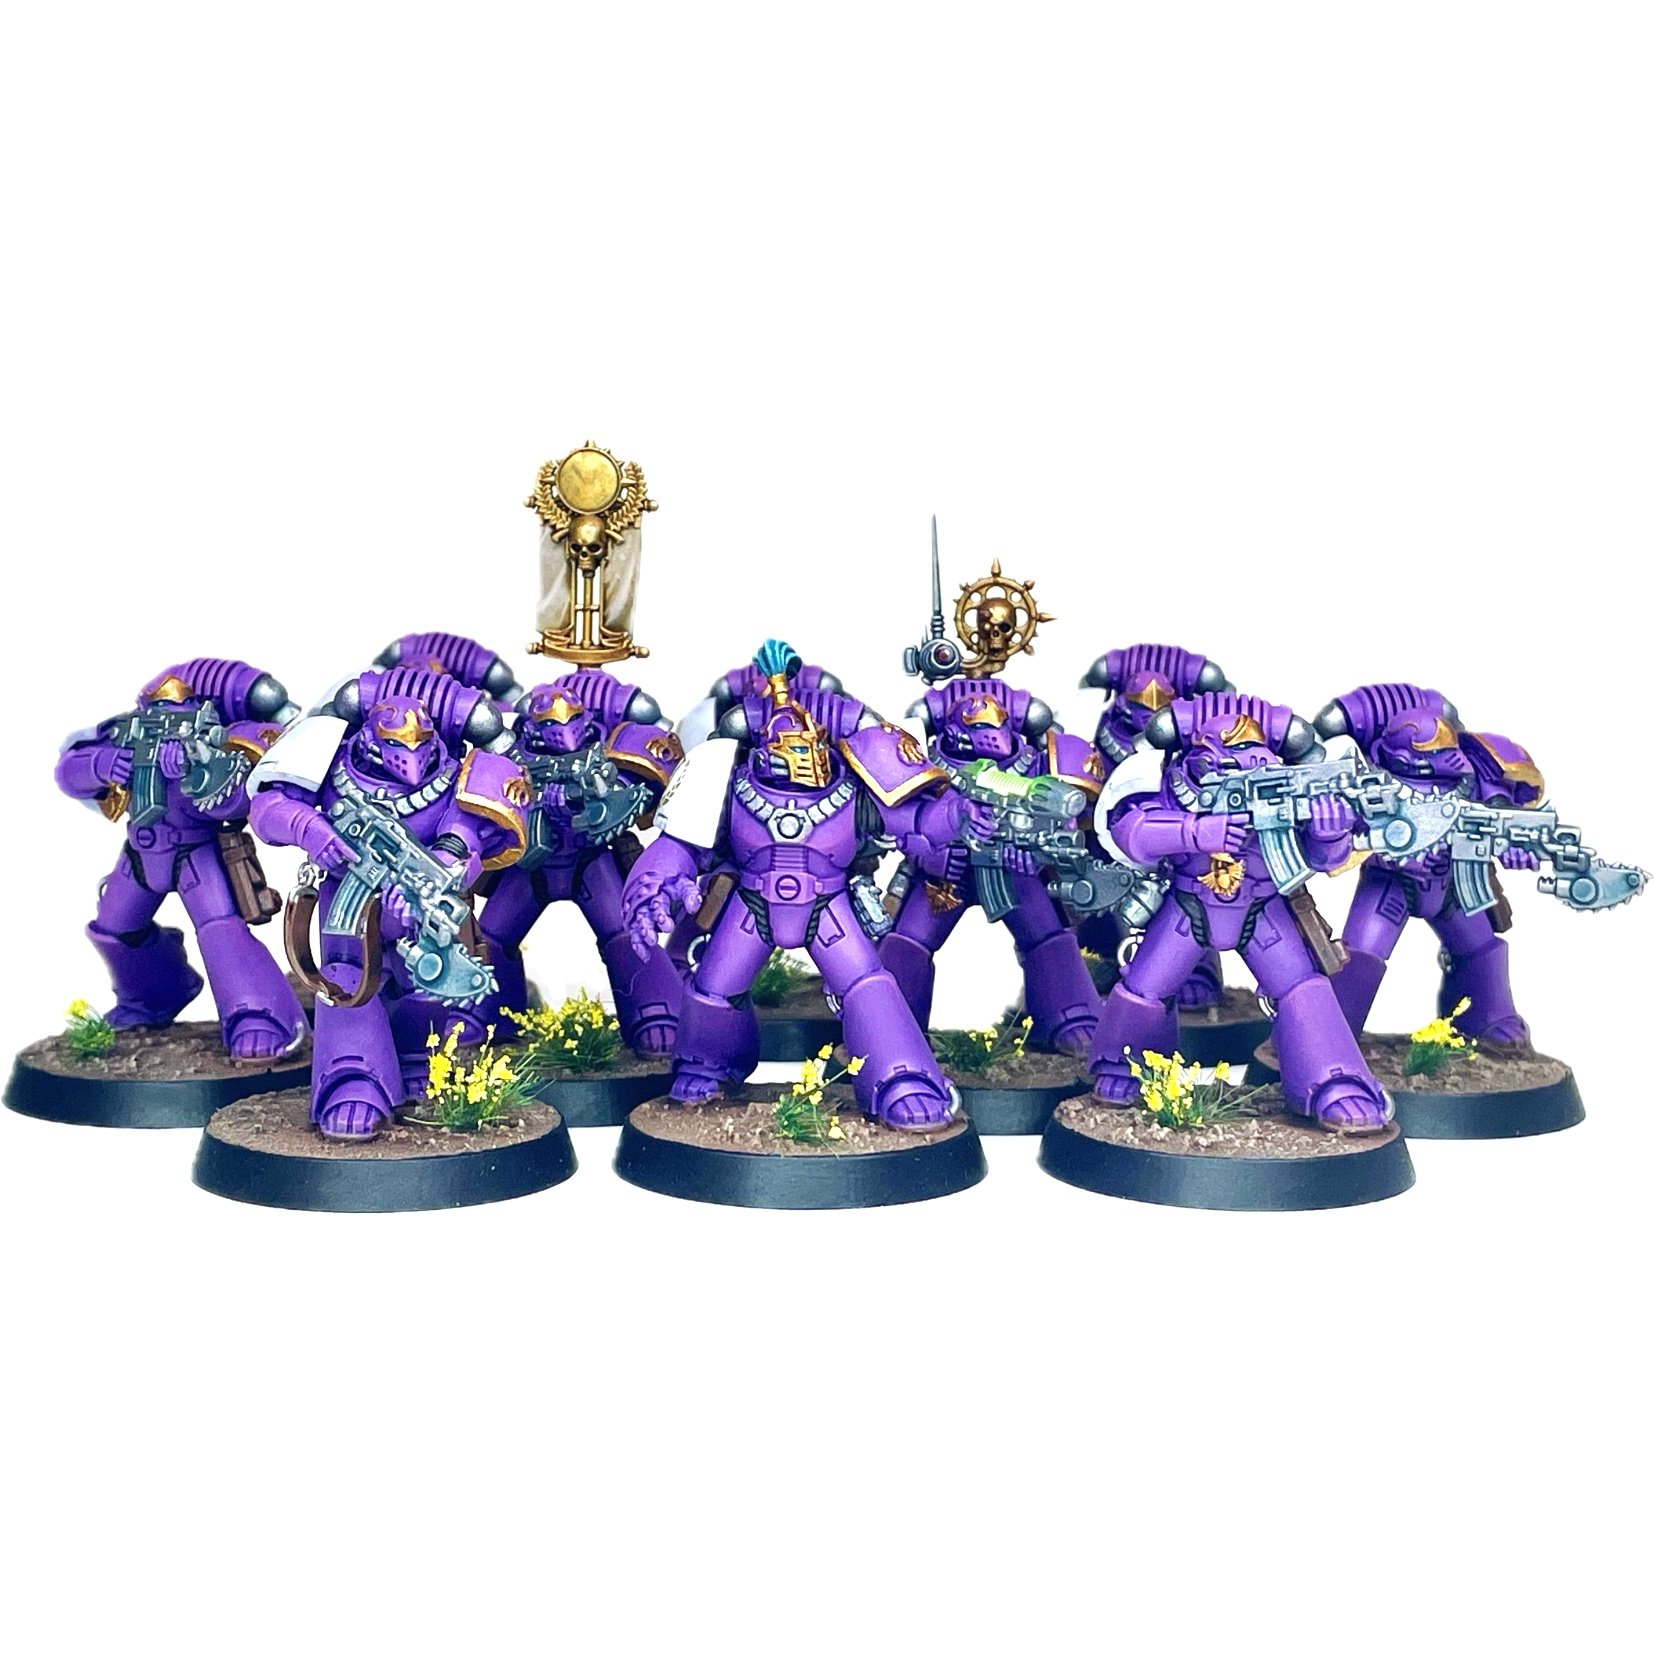
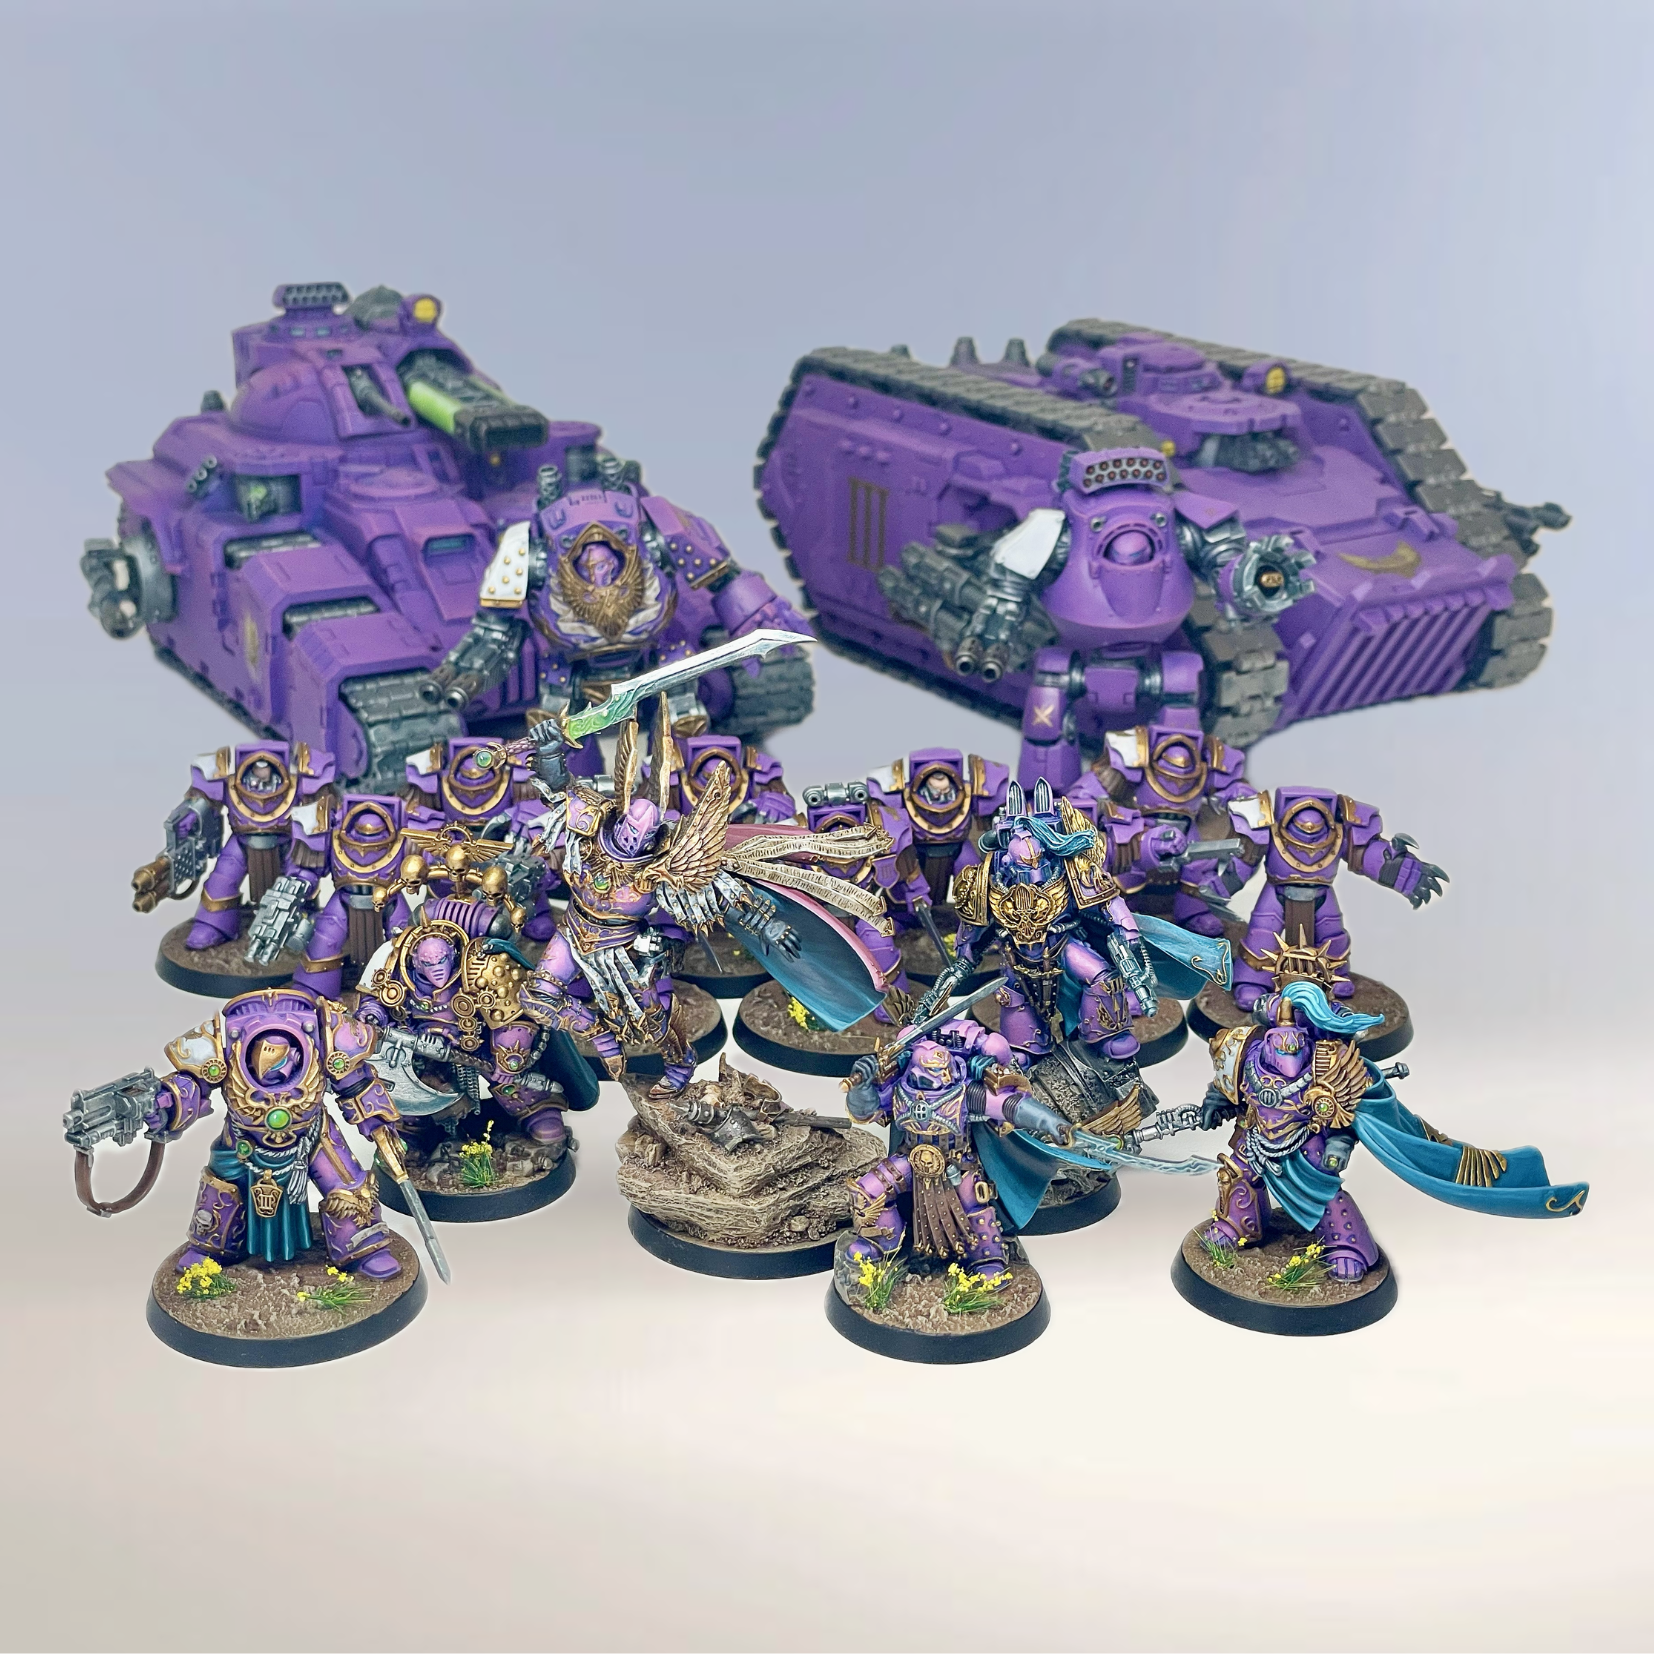
Table Top ready - A basic paint job shows pride in your collection and respect for your fellow gamers, reflecting your dedication to the hobby. Additionally, painted miniatures make your figures easily identifiable on the board, reducing confusion and ensuring smoother gameplay. The added effort not only enhances the aesthetic appeal but also contributes to a richer, more cohesive gaming experience for all participants. Investing time in painting your miniatures, even with simple techniques, elevates the overall quality of your game and demonstrates a commitment to both your hobby and the community.
2. Getting Started: Setting Up for Speed:
Before you even think about touching a paintbrush, make sure your workspace is well-organised. Centralising your supplies and using smart storage solutions like paint racks, brush holders, and drawer units can make a significant difference. Paint racks keep your colours visible and accessible, while brush holders help maintain your tools in good condition. Drawer units and storage bins allow you to categorise and quickly find various materials. If you need mobility, portable storage solutions like tackle boxes or rolling carts ensure your essentials are always ready and organised.
Tidy Desk Tidy Mind - A functional and comfortable workspace is crucial for efficient painting. Ensure your area is well-lit with daylight-balanced lamps to see details clearly. Regularly clean your workspace and establish a routine to maintain order. Personalise your space with inspiring items to boost creativity. By setting up an organised and ergonomic hobby area, you’ll enhance both your productivity and enjoyment, making your painting sessions more efficient and satisfying.
3. Slap-Chop Painting: A Quick and Effective Technique:
One of the most effective methods for painting miniatures quickly is the slap-chop technique. This approach is straightforward and yields impressive results. By combining priming, dry brushing, and using contrast paints, slap-chop allows you to achieve detailed and visually striking miniatures with minimal effort and time.
Prime and Pre-Shade - Start by priming your miniatures in black or grey. Once primed, use a lighter colour, such as white or light grey, to dry brush over the primed miniature, or you can use a spray paint or primer from above. This technique highlights the raised details and creates a natural gradient, giving the appearance of shadows and highlights with minimal effort. Ensure you have an even, fine coverage and take care not to obscure any fine details. When dry brushing, slightly thin your paints, as despite the name, dry brushing works best with a little moisture.
Apply Base Colours - Next, apply your base colours, such as the main colours you'll be using for your army (e.g., yellow for Imperial Fists). Focus on using thin coats to avoid obscuring details. At this stage, don’t worry too much about being neat; the goal is to get paint on the miniature quickly. A medium to large brush will work fine, as long as you use small amounts of paint.
Quick Wash - After applying the base colours, use a wash to add depth and shadow to your miniature. Washes are thin, liquid paints that settle into the recesses, enhancing the details and adding contrast with minimal effort. This step might not be necessary if your miniature already has enough shade and contrast from the previous steps. However, it can be an excellent opportunity to add more depth of colour (such as introducing cooler or warmer tones) or to begin early weathering for metals or armour using dark browns or blacks.
Highlights - Similar to the previous stage, you may want to take this opportunity to add more light and 'value' to your piece. Highlights are a great way to finish off elements with clean, crisp edges or to draw the eye with lighter colours. Dry brushing is perfect for quickly picking up edges. Simply choose a brighter shade of your base paint (or mix your own for the best look). Again, it's important to slightly thin your paint and use a paper towel to remove excess paint before applying.
4. Batch Painting:
Batch painting is a highly efficient technique in miniature painting, allowing painters to work on multiple miniatures simultaneously rather than individually. This method involves applying the same colour or technique to a group of miniatures before progressing to the next step. It streamlines the process by reducing setup and cleanup times associated with painting each miniature separately. Organizing your workspace, planning your colour scheme in advance, and adopting an assembly line approach are essential for successful batch painting. This method not only saves time but also ensures consistency across your miniatures.
To maximize the effectiveness of batch painting, it's crucial to stay organized and optimize drying times between stages. Start with larger areas and move towards smaller details, maintaining quality control throughout the process. By managing batch sizes effectively and periodically reviewing your progress for adjustments, you can achieve faster results without compromising on the quality of your painted miniatures. Whether you're painting for gaming tournaments or personal enjoyment, batch painting offers a practical solution to efficiently prepare miniatures for the tabletop.
Top Tip - Use stick or skewer to attach your miniatures to while priming or applying zenithal highlighting. This technique allows you to rotate the miniatures easily, ensuring even coverage of primer or paint from different angles. By securing several miniatures on a stick at once, you can streamline the priming process and achieve consistent zenithal highlights, where lighter shades are applied from above to simulate natural lighting effects. This method not only saves time but also facilitates smoother handling and drying of miniatures, enhancing overall painting efficiency.
5. Speed Paints: The Benefits of Using Citadel Contrast Paints:
Speed paints like Citadel Contrast Paints are revolutionizing the miniature painting process by combining base colour, shading, and highlighting into one simple step. These paints are specially formulated to work differently from traditional acrylics. When applied over a light undercoat such as white, light grey or beige, they flow smoothly into the recesses of your miniature, naturally creating shadows and highlights simultaneously. This unique property makes them exceptionally efficient for achieving a detailed and vibrant finish with minimal effort.
Advantages - Citadel Contrast Paints offer several advantages over traditional painting methods. Firstly, they save considerable time by eliminating the need for multiple layers of base coat, shade, and highlight. This efficiency is particularly beneficial when painting large armies or batches of miniatures. Secondly, their fluid consistency allows for quick application with a regular brush, making them accessible even to hobbyists with limited painting experience. Moreover, the paints dry to a matte finish, reducing the additional step of applying varnish for many painters.
Tip - To make the most of Citadel Contrast Paints, start by applying a smooth and even light undercoat to your miniatures. This ensures that the paint flows correctly and achieves the desired shading effect. Shake the paint pot thoroughly before use to mix the pigment and medium properly. Apply the paint generously to allow it to flow into the recesses, but be cautious not to flood the details. Use a clean brush to manage any pooling or excess paint, ensuring an even application.
Remember - When you’re new to miniature painting, it’s easy to be overwhelmed by the stunning examples you see online. Remember, everyone starts somewhere, and those top-tier painters have years of experience. Set realistic goals for yourself and celebrate small victories.
Thank you for taking the time to read this blog post! I trust you found this guide illuminating for your project needs. I'd love to hear from you—please leave a comment below sharing your thoughts or questions. Additionally, if you have ideas for future blog topics or specific techniques you'd like me to cover, feel free to suggest them!
For further insights, tutorials, and exclusive glimpses into my creative process, join me on Instagram. If you're keen on commissioning a bespoke miniature, simply click the link below to get started. Your feedback and ideas are invaluable in shaping the content I create, and I look forward to connecting with you to bring your miniature visions to reality!


